
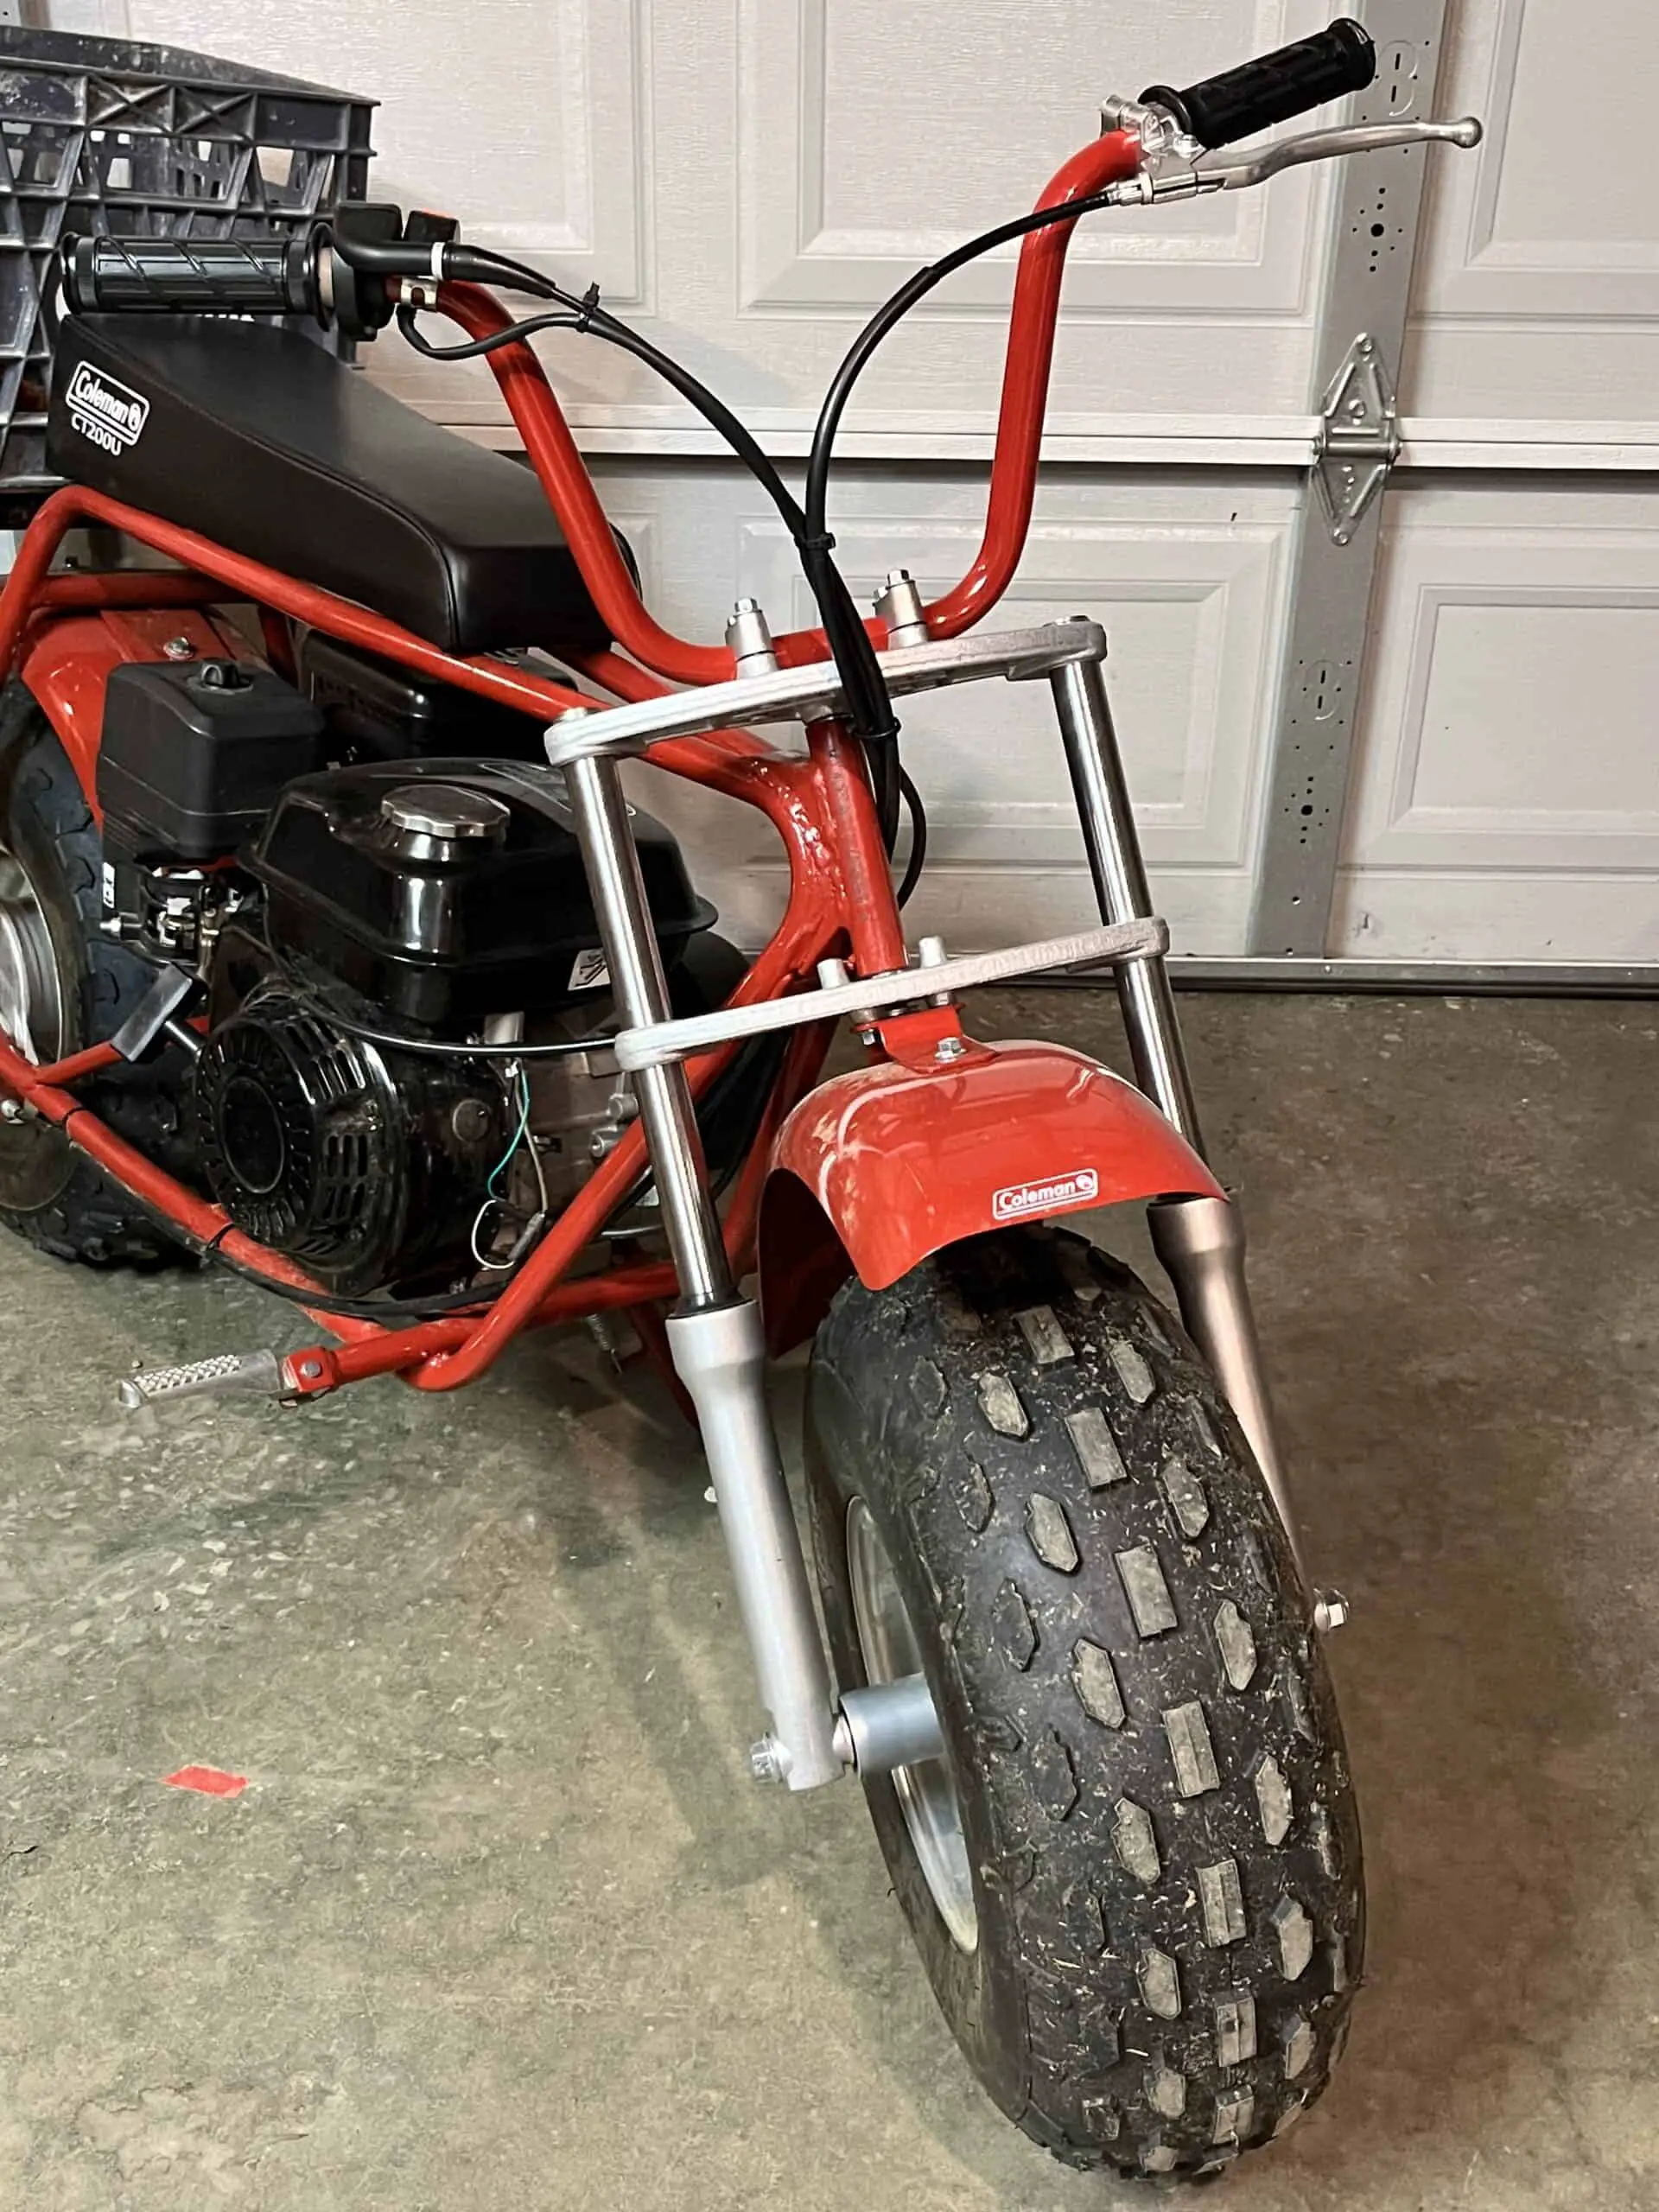
I love riding my Coleman CT200U mini bike. There’s something about the rugged simplicity of a mini bike that just makes it so fun to ride. Plus with their fat knobby tires and low end power, I can go almost anywhere with it.
As much fun as my Coleman mini bike is, after being on the trail for a while, every bump starts to feel like it is rattling through your entire body, especially your wrists. So I started looking for a solution and found the Coleman Font Fork Suspension Kit.
The Coleman Front Fork Accessory Kit is a great upgrade to the CT200U series mini bikes. It is easy to purchase, easy to install and makes a big difference in the ride.
Purchasing
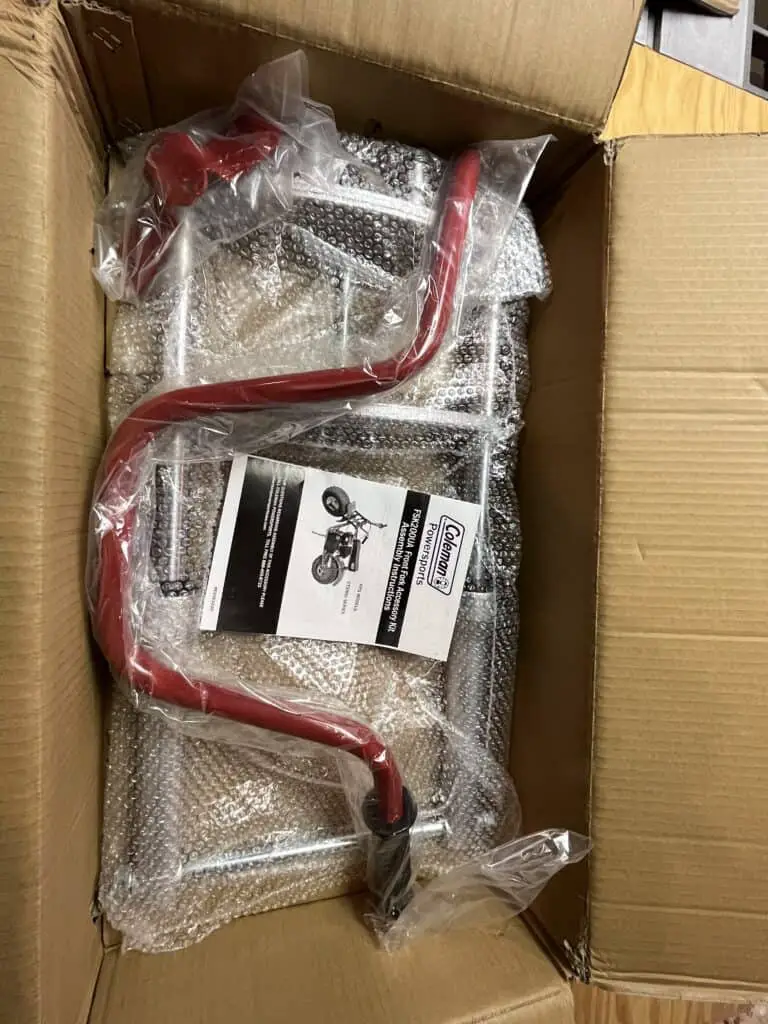
This front fork suspension kit can only be purchased from colemanpowersportsusa.com. The model number is FSK200UA and you can find it under the Accessories section of their website. The kit was easy to order, just like anything else purchased online these days. All you have to do is put in your credit card information and wait for it to be delivered.
At the time I ordered the part it was around $175, which I think is pretty reasonable considering what you get. However, when you check out, it adds in some pretty substantial shipping and handling costs. This changes depending on where you live, for me it was almost $55. It is a larger and heavier package, so I guess it makes sense. Just be prepared for that extra cost.
Installation
Installing the kit was very straight forward and doesn’t take very long. For most it would probably only take about 20 minutes. My install took much longer due to my own mistake, but we will get into that later. The kit comes with directions that have lots of pictures and are very easy to follow. Just keep in mind that it will only fit a Coleman CT200U series mini bike.
Parts
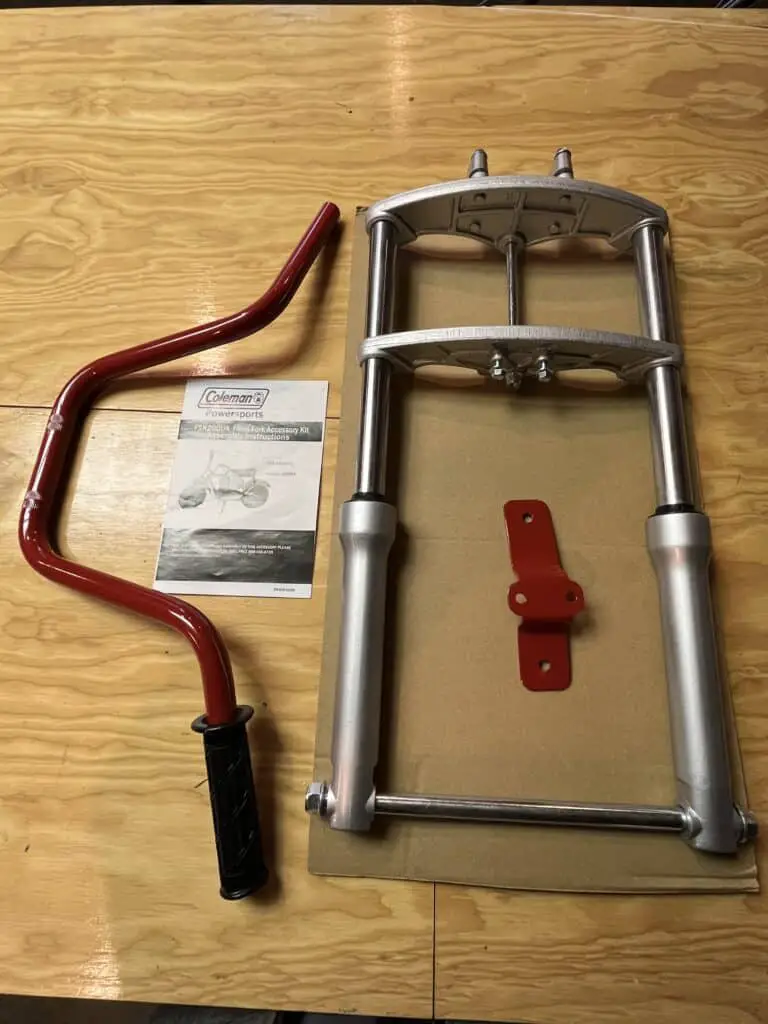
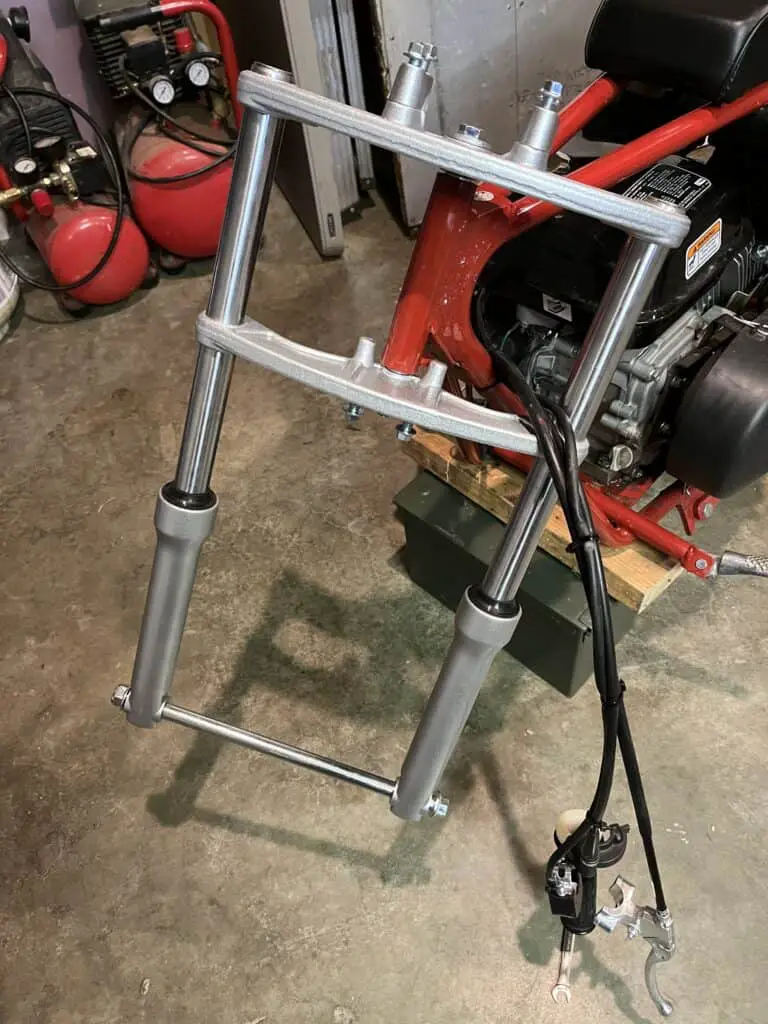
The kit comes with pretty much the entire front end except for the front wheel and fender. The parts were durable, well made, and fit like they should. Here is a list of all the parts included in the Coleman Front Fork Accessory Kit:
- Front Fork Suspension
- Fork Bolts, Washers, Lock Washers, and Nuts
- Steering Bolt, Washers and Nut
- Handlebar
- Handlebar Clamps and Bolts
- Front Fender Bracket
- Axel Bolt, Washer and Nut
Remove old forks
The first step in the installation process is to remove the old forks. To make life easier throughout the installation, set the mini bike up on a crate or jack stand so the front wheel is off the ground. Once that is done you can remove the front wheel and fender.
Before the forks can come off, the brake handle and throttle grip assembly must be removed. This just takes a Philips head screw driver. You want to check to see if the throttle cable and brake cable are zip tied to the forks. If so, you will need to cut the zip tie so the cables are free of the forks.
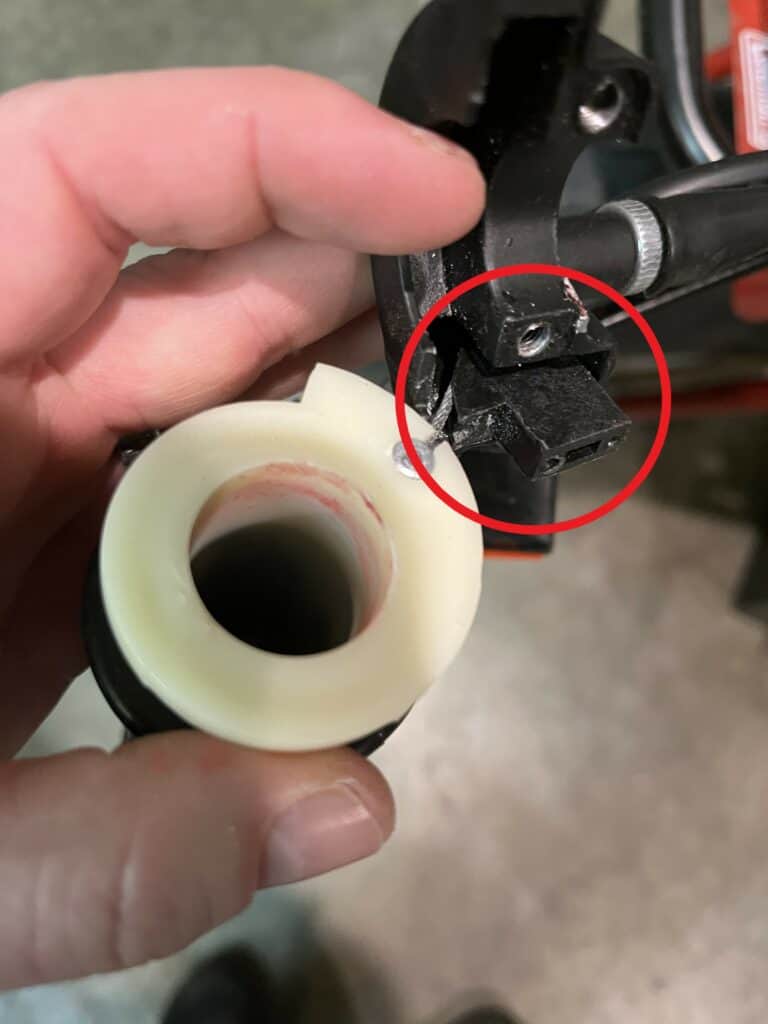
Be careful when removing the throttle grip assembly so that you don’t lose the small plastic piece that routes the throttle cable (see picture below). This is a free floating piece that went flying across my garage. Luckily I saw where it landed. If you lose this piece you have to buy new throttle housing, which is only about $10.
Install front fork suspension
Once the old forks are off, it is time to install the new ones. Insert the steering bolt to mount the forks to the frame. It is important to install the assembly in the proper order: large washer, top fork bracket, small washer, steering neck, small washer, bottom fork bracket, large washer and finally the lock nut.
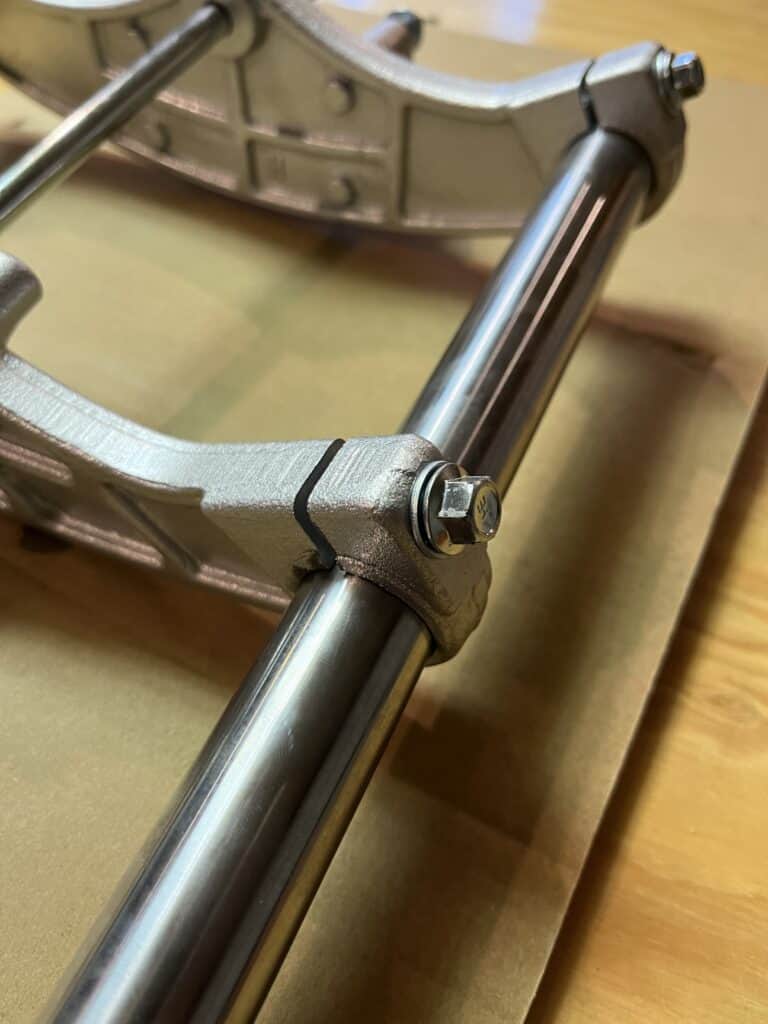
The lock nut needs to be snug, but do not over tighten. Once this is done, you need to check the fork bolts to make sure they are tight. The fork bolts clamp the fork brackets to the forks themselves. These are supposed to be torqued to 15 ft/lbs. Which the factory may have already done for you.
Do not over tightened these bolts! They are small and can break. I used a new torque wrench for this project and I didn’t realize it was broken. When I went to check the bolts, I over tightened and broke one. I was eventually able to get the broken piece of bolt out, but it took a lot of time and I had to purchase a new set of extractor bits to do it.
Install front fender and wheel
Installing the front fender and wheel is a breeze. The front fender bracket bolts on to the bottom fork bracket with two bolts and then two more nuts and bolts mount the fender to the bracket. It is much easier if you install the front fender before the wheel, so the wheel isn’t in your way.
I was a little disappointed that the fork brackets of the new front suspension did not include bolt holes for the front rack. One of the reasons I liked the CT200U model was because it had the extra front rack for carrying more gear. I think that would be an easy modification to the kit that would be worth it.
To install the front wheel, simply hold it in place, slide the axel through with a washer between the forks and the wheel on each side. Then snug the axel nut. Don’t over tighten the axel nut as this could damage the wheel bearings.
Also, if the tire has a directional tread pattern, you want to make sure the tire is oriented correctly. To do this, simply check the side of the tire for an arrow and make sure it points forward when at the top.
Install the handlebar
To install the handlebar, align it on top of the forks and gently tighten the handlebar clamps so you can still move the handlebar back and forth using the provided bolts. Then sit on the mini bike and adjust the handlebar to a comfortable riding position. Once you like the placement, tighten down the clamp bolts.
Now all that is left is to reattach the brake lever and throttle grip assembly. Just make sure you route the brake cable and throttle cable so that they will not get pinched or interfere with turning.
Performance
When I tested the new front suspension, at first I didn’t think they made much of a difference. I was driving primarily on pavement and gravel. So then I decided to drive over some rougher terrain. This is where the front suspension really made a difference.
The front suspension softens the blow of larger bumps. Before adding the front suspension any time I hit a larger bump with any sort of speed or momentum, the impact to the front end would jolt my body weight back towards the seat. Then when the rear tire hit the bump and it would catapult me forward again.
When the front tire hits a larger bump with the front suspension kit, it absorbs it. This makes it much easier to ride standing up so your legs can absorb bumps the rear tire hits without getting bounced back and forth like a bull rider. Overall, the Coleman Front Fork Suspension Kit is well worth the money. It’s not too expensive, easy to install and most of all, in my opinion a necessity if you plan on doing any off-road riding.